A major part of textile conservation work is about securing and stabilising historic fabrics that are weak, and it can be done by stitching, adhering, or both.
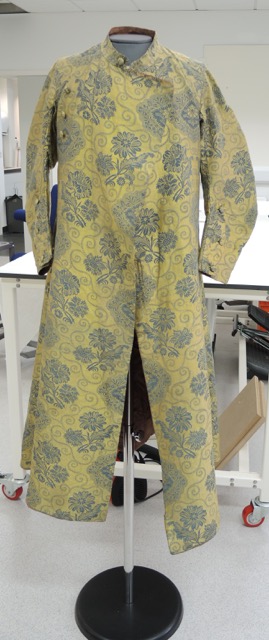
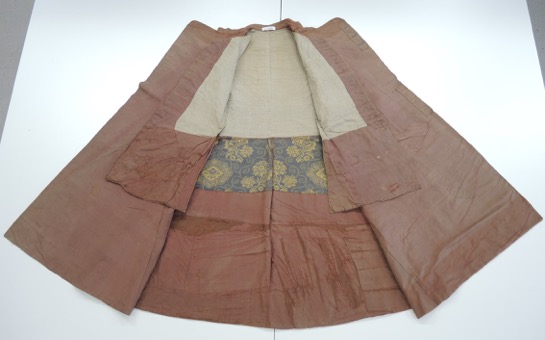
As I mentioned in my previous post, as soon as I saw this 18th-century banyan, I knew the treatment would involve many hours of stitching. I just did not realise it would take me so many, since it rounded up to just over 200 hours!
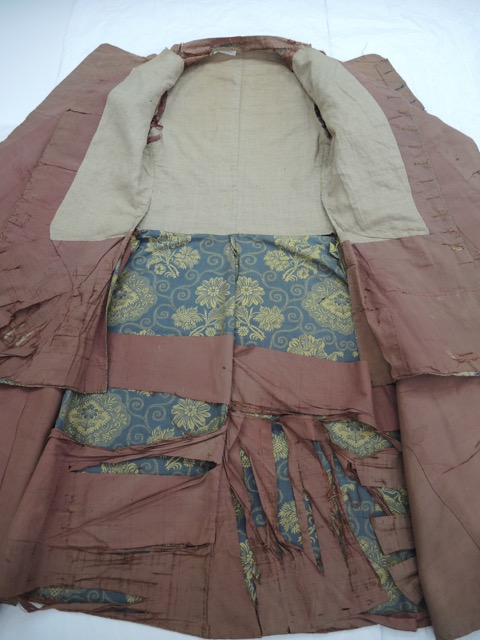
Once the wet cleaning of the banyan was completed, I removed the securing net and documented this process, as well as evaluating the cleaning results. It was time to start planning the next stage and propose how I was going to tackle the issue of the fragile silk lining. It seemed a little bit daunting, therefore I decided to take it one step at a time.
Decisions, decisions, decisions…
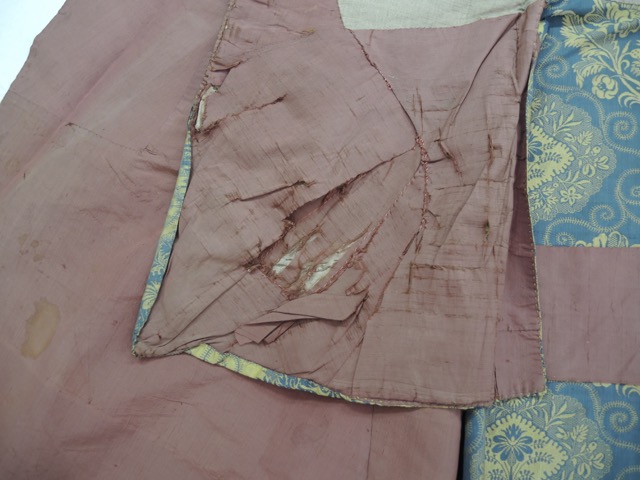
Firstly, I had to decide what type of support was required. For most of the ar,eas I chose silk, which I would insert behind the areas of loss and secure with stitches. In places where damage was very severe, like the central panel of the lining, I proposed to add another layer of transparent fabric on top. My initial instinct was to select silk crepeline for this but I was advised to consider nylon net.
Silk crepeline gives a beautiful finish, and assuming a correct colour match, it blends in well, making it almost impossible to detect. At the same time, it does not provide enough rigidity and it is quite challenging to work with on a large scale.
Nylon net provides a good support and can be cut very neatly with the aid of a Pyrograph (controllable heated metal pen). Additionally, aligning the nylon net to the grain of the silk fabric is a relatively easy task. Therefore, I followed the advice given and it easily saved me many hours of frustration.
Colour me pretty…
The next step was to colour match all the selected materials to the colour of the lining with the help of dyeing. Personally, I love dying fabrics. It is a mixture of science, magic and luck to some extent. Over the years at the conservation studio, we have created a vast reference collection by retaining a small piece of fabric from each dye bath along with the recipe.
This is the place where I started my search and almost immediately found something which was very close to the colour I wanted to achieve. I copied the recipe and modified it slightly to see if I could produce something even more accurate.
The first batch was my test: I used small fabric samples, which all turned into different shades of purple rather than the anticipated red brown. But then I tried again and this time I got it right. I had to run more tests for each type of fabric and thread and only then was I inclined to dye the bigger pieces.
It is important to calculate how much fabric you might need because the next dye bath can produce a slightly different hue. Not to mention that running out of the materials in the middle of your treatment can be annoying!
Without further ado…
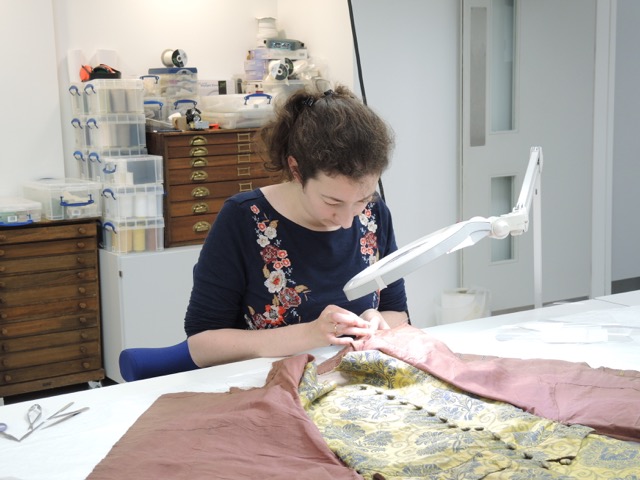
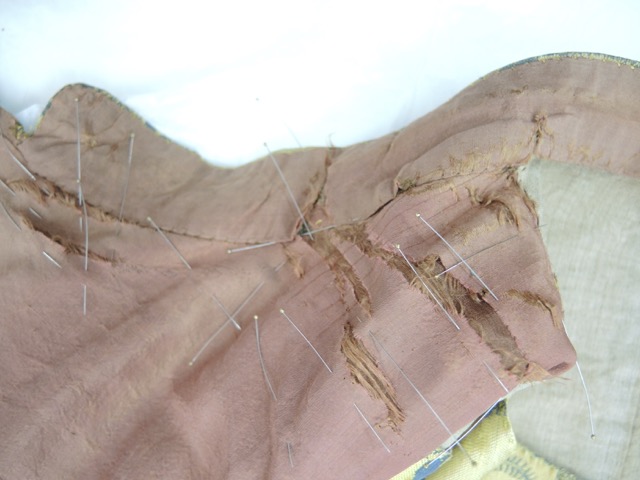
The necessities and tools were ready, and so was I. For a start, to give myself a little confidence, I chose a relatively easy but large tear on the lining. I inserted the support fabric behind the tear, fixed it in place with very fine pins and started securing it with conservation stitches.
On completion I felt as if I had grasped how the treatment should go and, although with every next tear and hole it seemed easier, it was more difficult at the same time. This was due to factors such as different manipulation, tension, creasing and amount of stitching required.
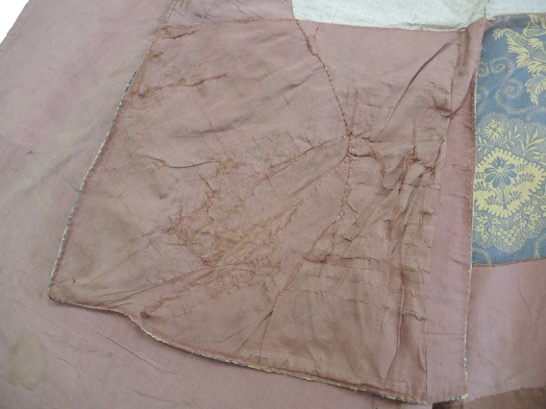
As planned, I inserted the support fabric behind the loss, in some areas I was sandwiching the lining in between two layers, in others I had to reinstate the original stitching.
Each area of loss presented a unique challenge and problem, and required a slightly different approach. Therefore I treated each damaged area individually and carried on and on and on…
Finally…
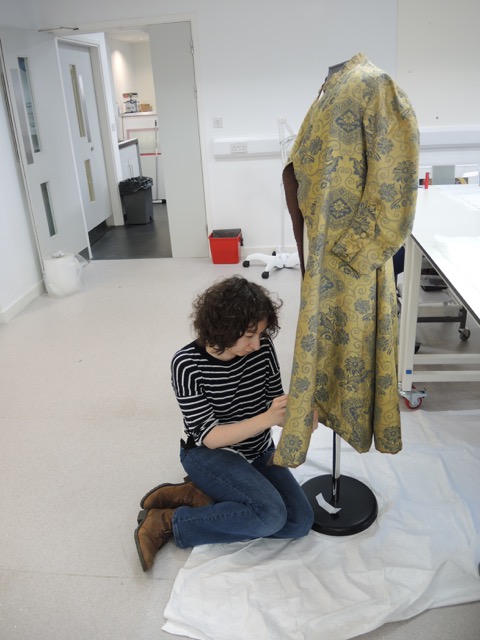
The last stage will involve mounting the banyan onto a mannequin and making it ready and safe for display. It has been prepared to be rotated with the banyan currently on display in the Fashion and Style gallery, at National Museum of Scotland, so keep your eye out for it.
When you see it, I hope it will make you think about the conservators and their work. I can honestly say I feel thrilled and honoured I was able to contribute to the history of this garment and make it suitable to be looked at and admired again.