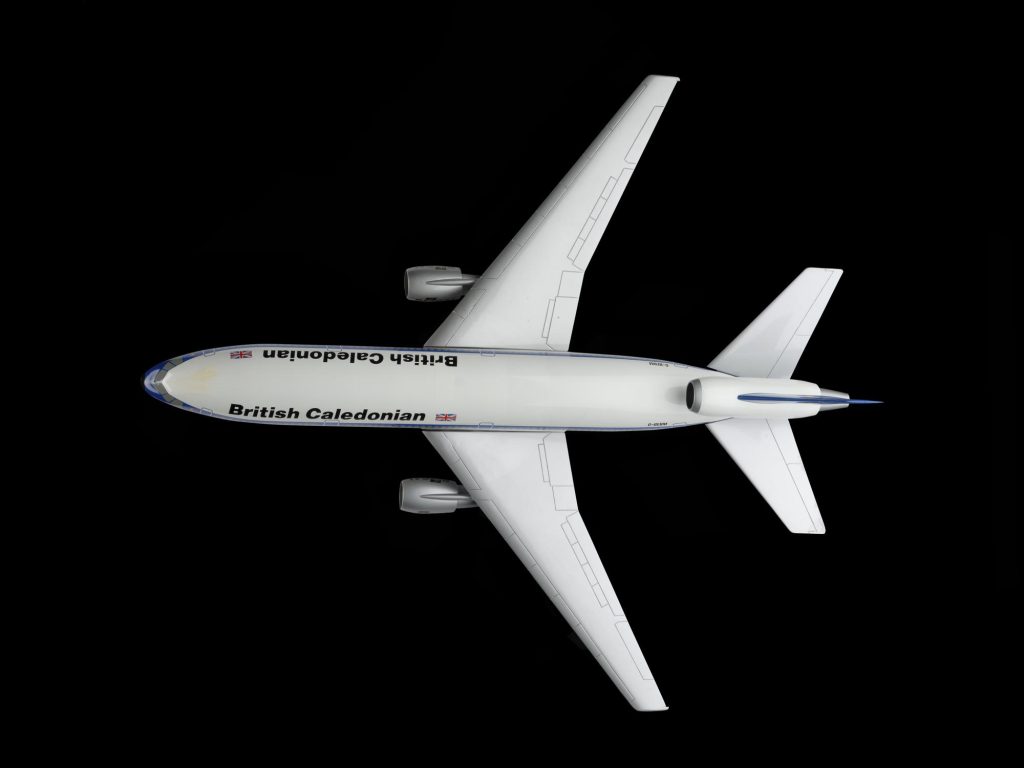
How do you conserve a model aircraft? The DC-10 in our aviation collection was in need of repair to bring it back to its former glory. In this blog Suncana Marochini gives us a quick blow by blow of the conservation process. Prepare for lift-off, Suncana!
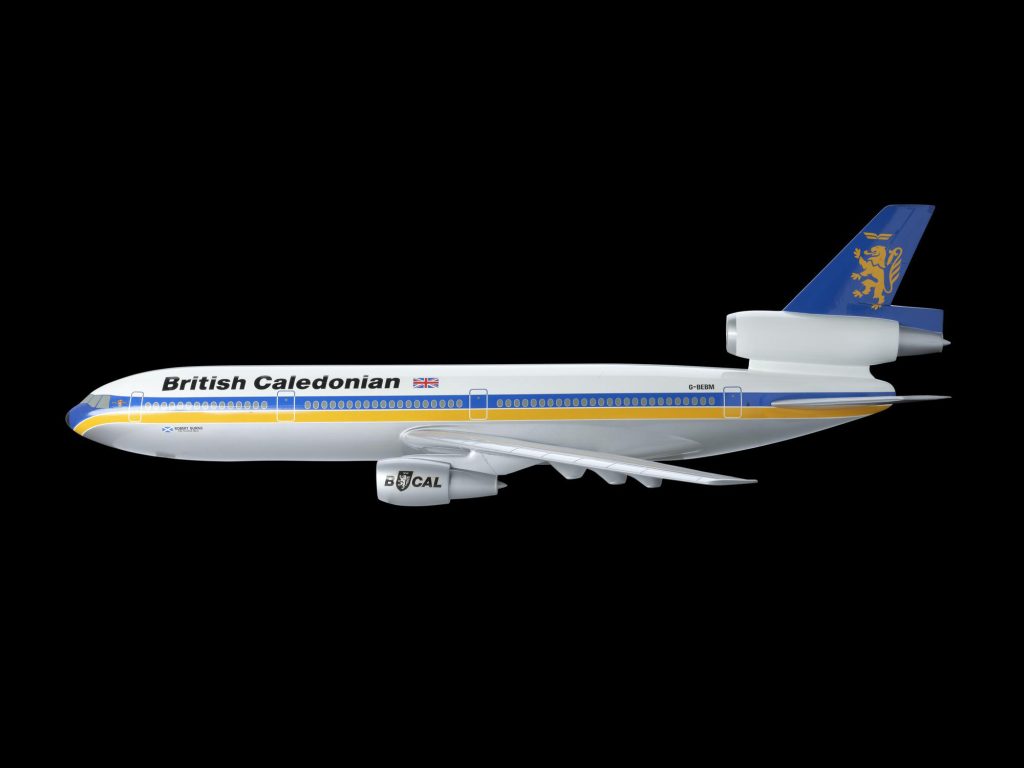
Engineering conservation presents many (exciting) challenges. I often work with dynamic and composite objects. Sometimes I have to create missing parts. These were just some of the issues I faced when conserving an aircraft model of a British Caledonian McDonnell-Douglas DC-10 (EF.2012.160.136).
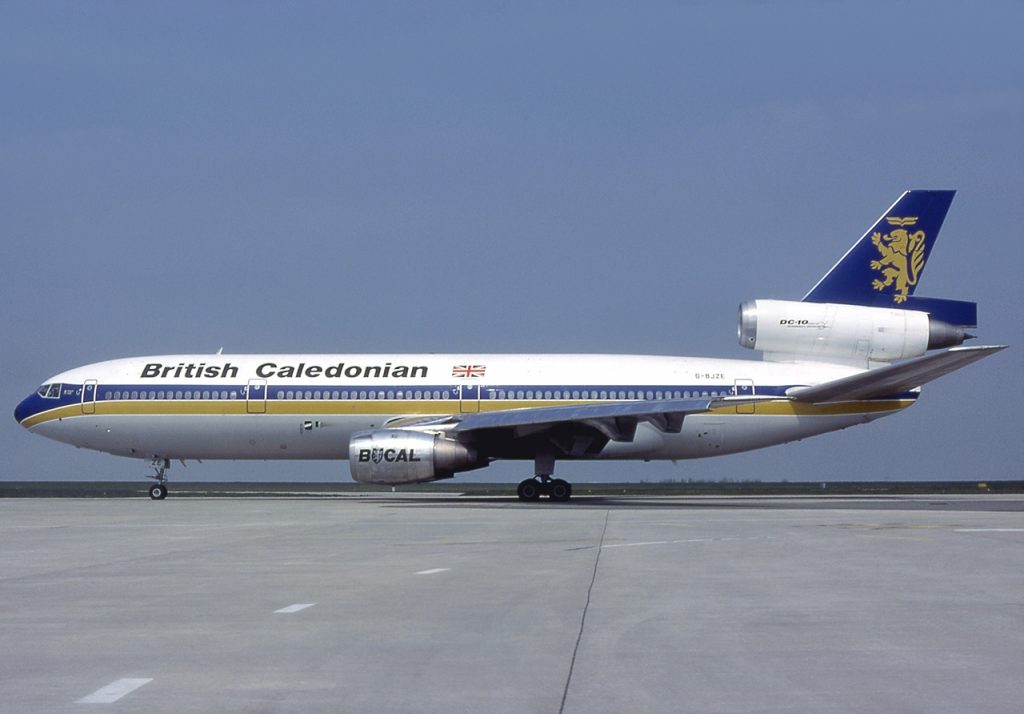
First, some context! British Caledonian was a private, independent airline that operated out of Gatwick Airport during the 1970s and 1980s. The DC-10 is a three-engine jet aircraft that was built by US manufacturer McDonnell Douglas and was operational from 1971 until 2007.
Back in 2020, I had to bring a dilapidated British Caledonian DC-10 aircraft model back to its former glory. Despite being many times smaller than the real thing, it was still quite a task! Come with me now on a journey through the painstaking conservation that I did to make sure the model was fit for display.
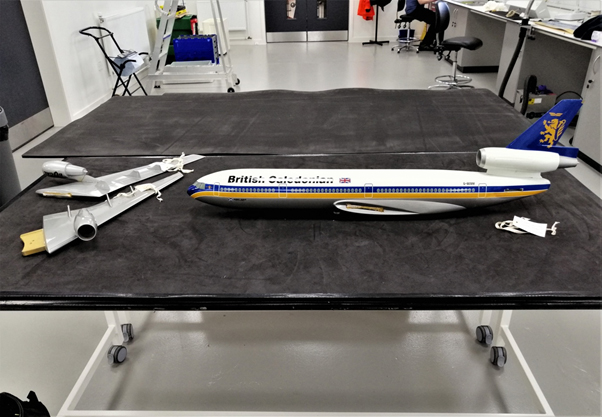
Assessment
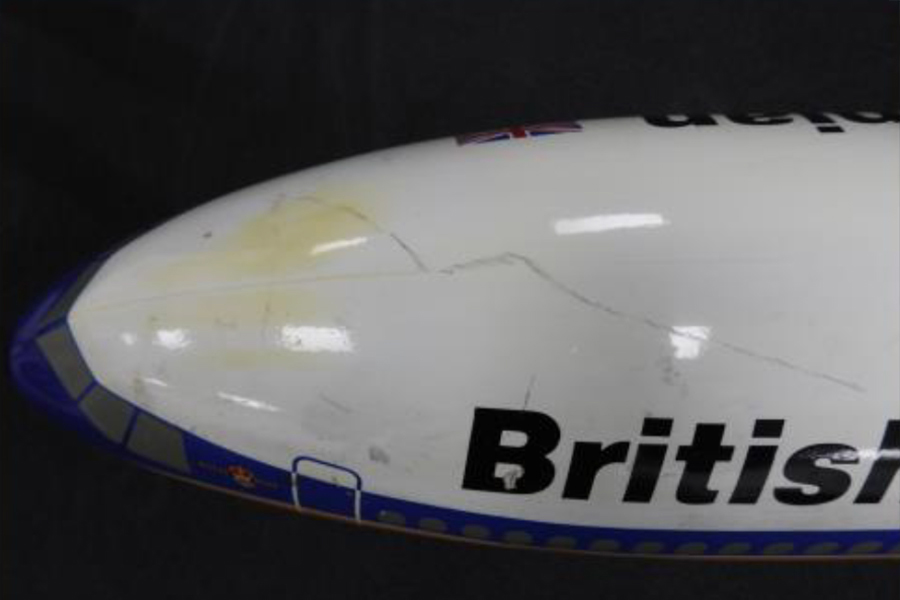
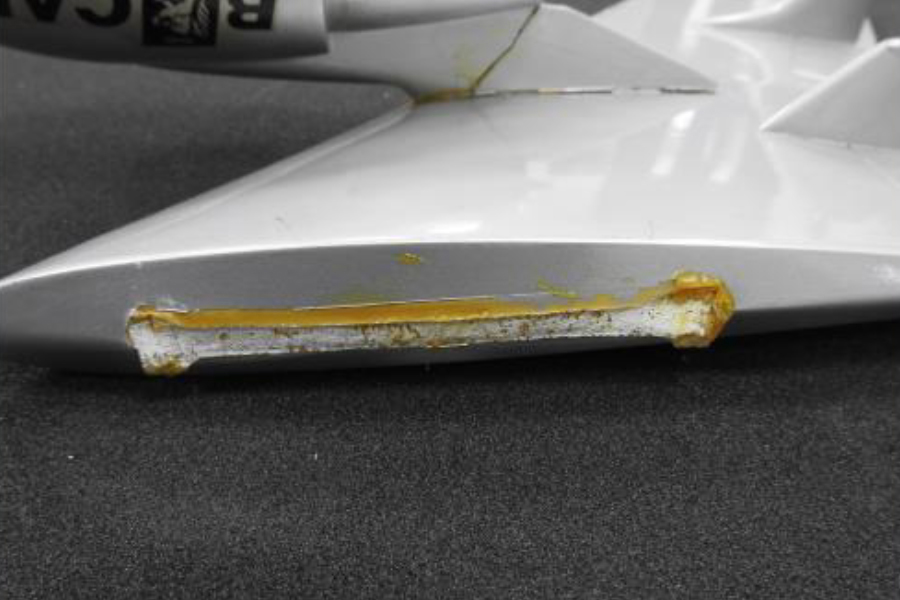
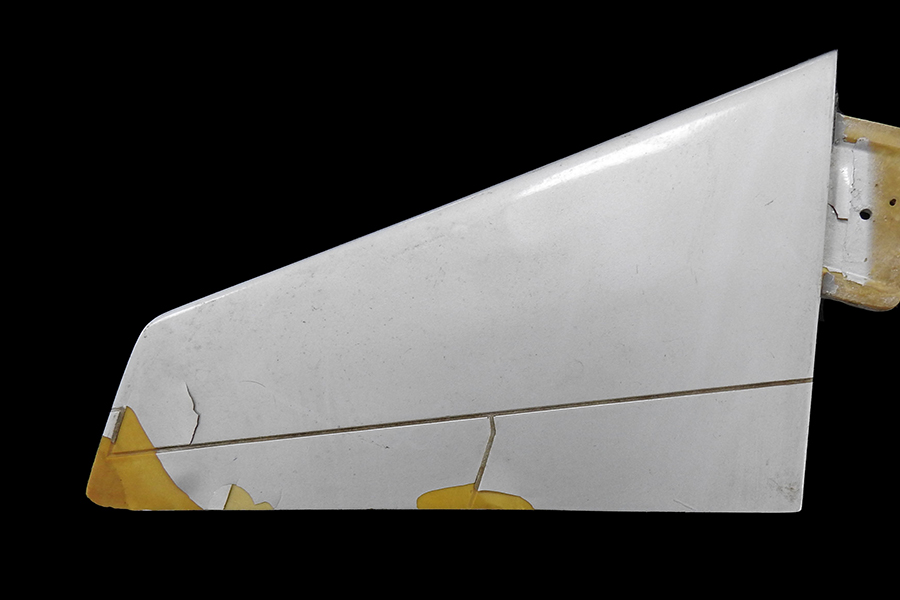
Before any work was carried out, I gave the model a thorough inspection to assess its condition. There were many issues on its surface:
- Stains
- Discolouration
- Scratches
- Worn paint
- Paint delamination
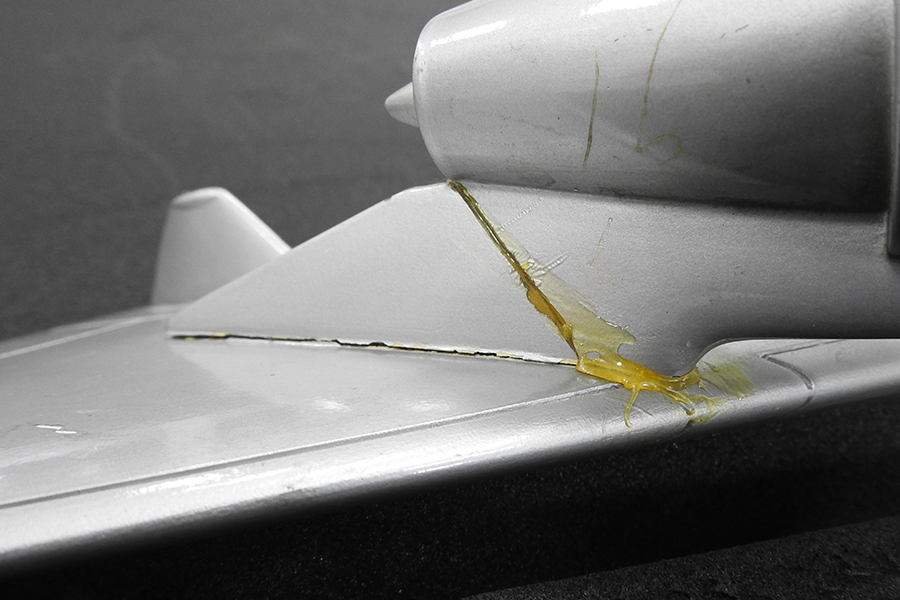
Previous attempts to conserve the model had left unsightly and discoloured adhesive marks. There were also some broken components that needed putting back in place and one of the turbine engines had a part missing.
Paint consolidation
I thoroughly cleaned the surface of the model. Always a good first step! Then I consolidated the bad areas of paint. This involved sticking the flaky paint to the model using a ‘consolidant’. Some of the flakes were stubborn and protruded up even after treatment, so I had to use a heated spatula to make sure they were fully re-laid and made flat again.

Reattachment
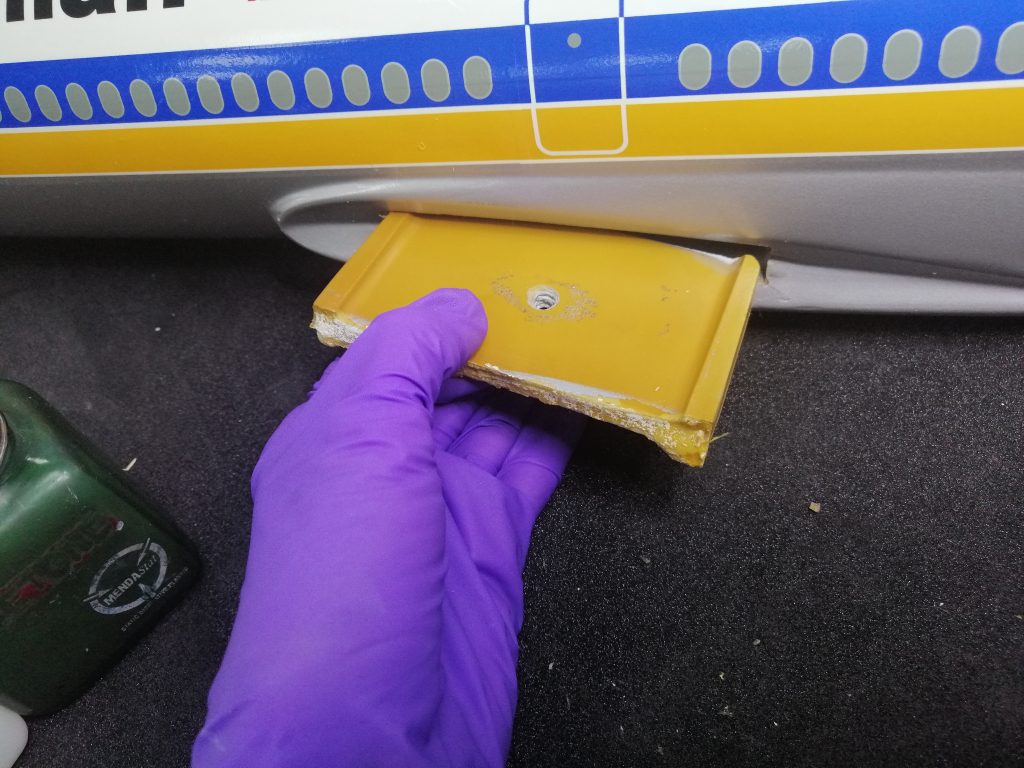
I re-adhered broken parts of the model with a special conservation adhesive. That significantly improved model’s appearance! I then did some in painting (making sure that the damaged parts were filled in so they were complete once again).
Then I reattached the repainted wing to the model fuselage. Almost there!
Casting
Unfortunately, the model aircraft still couldn’t “take to the skies”: it was missing one of its turbines. Two of the other turbines were still in place, though, which meant I could use them.

To make a new turbine, I used silicone rubber to make a mould of one of the existing turbines and made a cast by filling the mould with epoxy resin. Once the cast was hard, I used a power tool to shape the turbine and then I painted it in a colour to match the others.
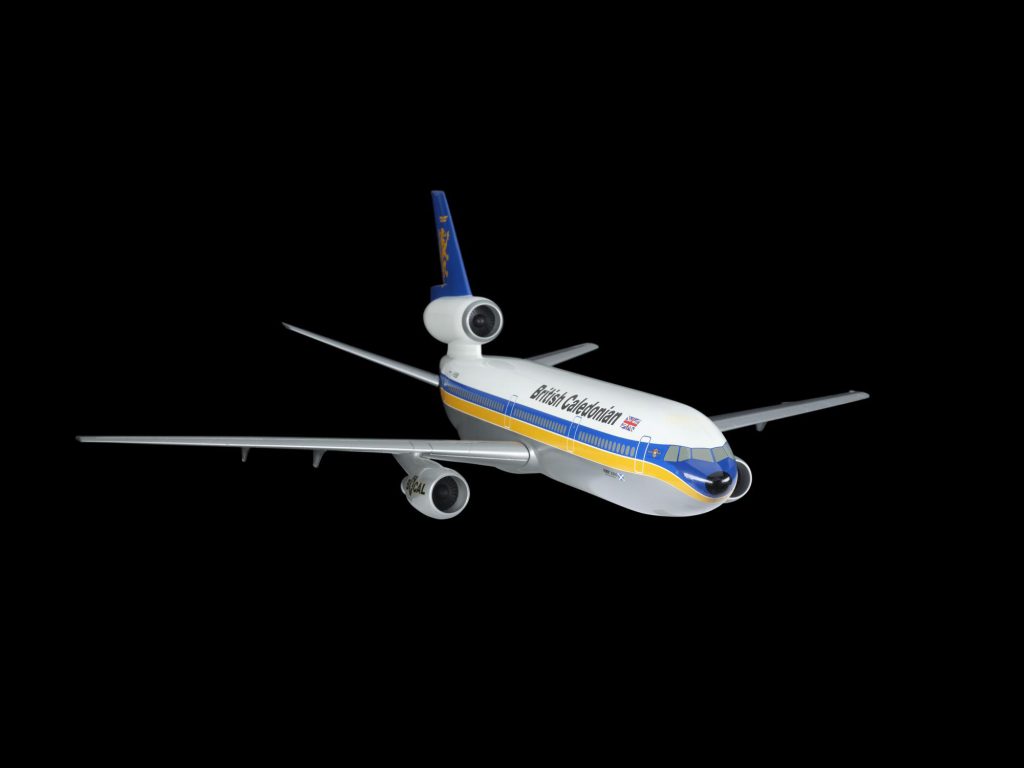
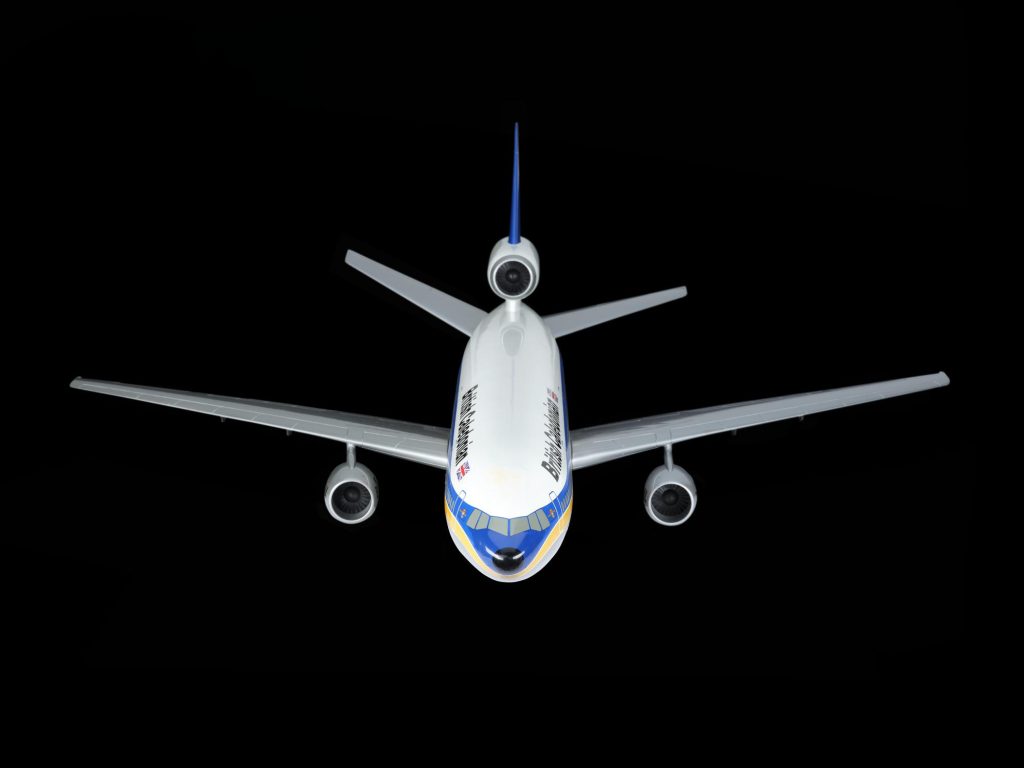
And that was it! Take a look at the newly conserved model in all its glory
I have many fond memories of working at National Museums Scotland, but the work I did on this aircraft model is one of my all-time favourites. I enjoyed researching the conservation methods that I used and improving my practical skills. I really felt like I was ‘flying without wings’ throughout this whole treatment!
Suncana began her internship at National Museums Scotland in September 2019, as a part of her UCL MSc Conservation for Archaeology and Museums degree. With with the help of the Anna Plowden Trust and The Clothworkers’ Foundation grant, she completed her internship in December 2020.
