The book Birds of America is famous for its huge size. Over 40 large bird illustrations are on display in our exhibition, and each one requires care. Assistant Paper Conservator Kiri Douglas talks us through the conservation process and some of the challenges she faced.
Published between 1827 and 1838, Birds of America was the ambition of artist and naturalist John James Audubon. Itcontained 435 life-sized hand-coloured prints of North American birds. The paper conservation team at National Museums Scotland conserved 44 of these printed plates for our Audubon’s Birds of America exhibition, alongside rare books, letters and ephemera.
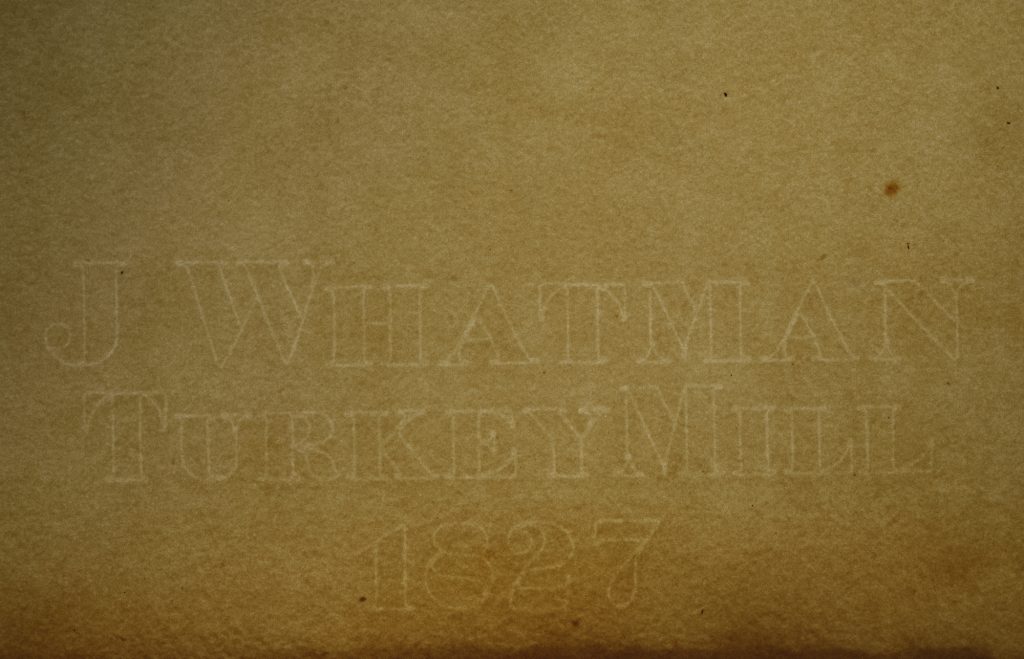
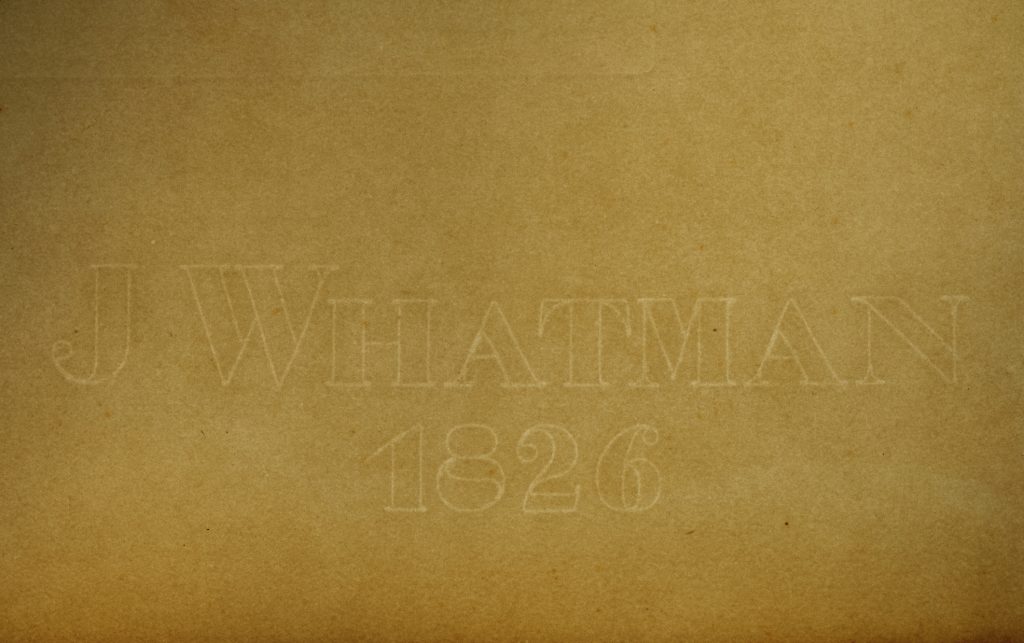
Due to each bird being depicted life-size, the paper used to print the images is very large: approximately 68cm by 100cm! Traditionally, a paper of this size is called ‘Double Elephant’ and the prints are all watermarked with either ‘J. Whatman’ or with the addition of ‘Turkey Mill’, denoting where the paper was produced. The edges of the prints we conserved have had their edges trimmed, some quite irregularly. On some, the titles have also been trimmed a bit. The paper is often trimmed to remove the ‘deckled’ edge, which is the rough edge that is left from the hand-made papermaking process. Papers could also be trimmed to fit into bindings if they were not always folded squarely.
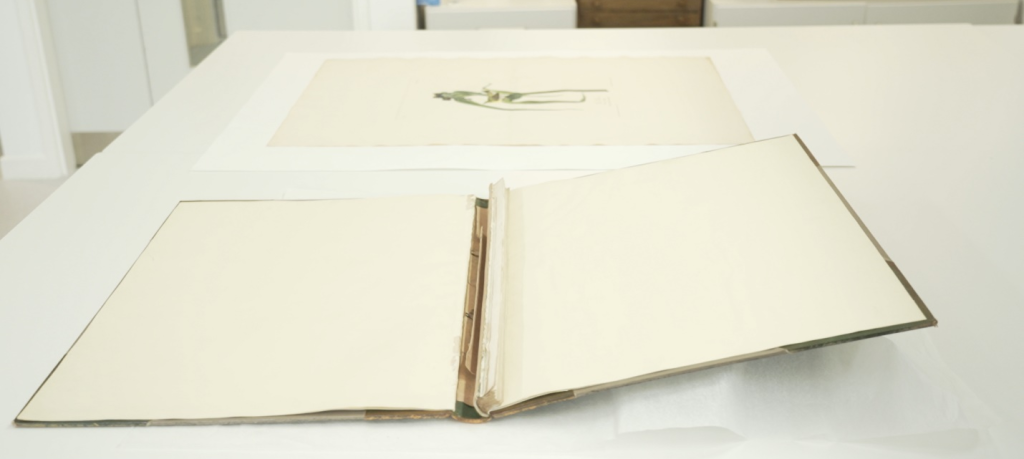
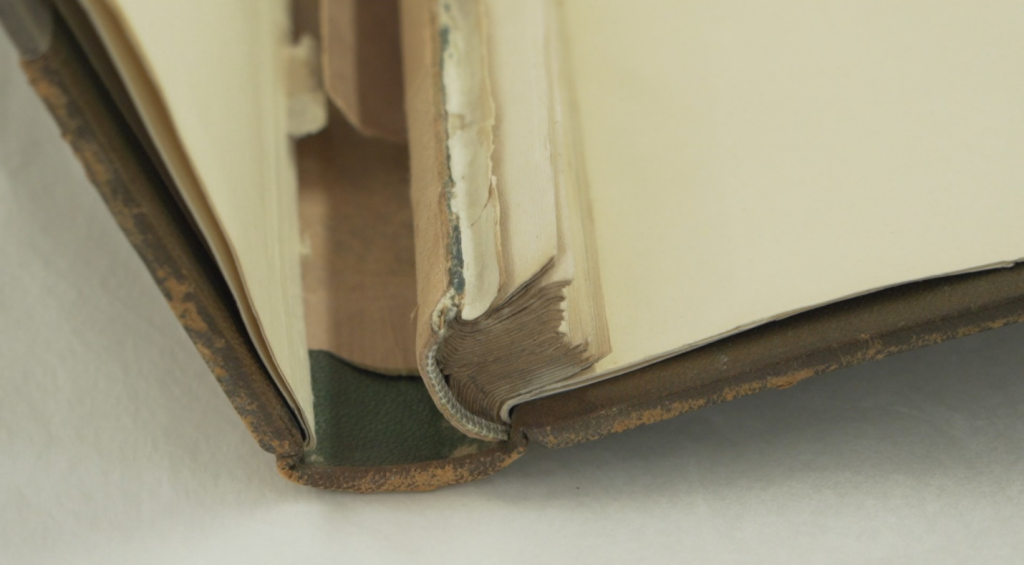
Several of the prints from the library collection had been folded and adhered into a binding. This was common because of the large size of the paper, making it much easier for owners to handle and view the prints. Years ago, they were unbound from the cover, making this exhibition a very exciting and rare opportunity for visitors, as the loose prints allows several of them can to be viewed together.
The conservation
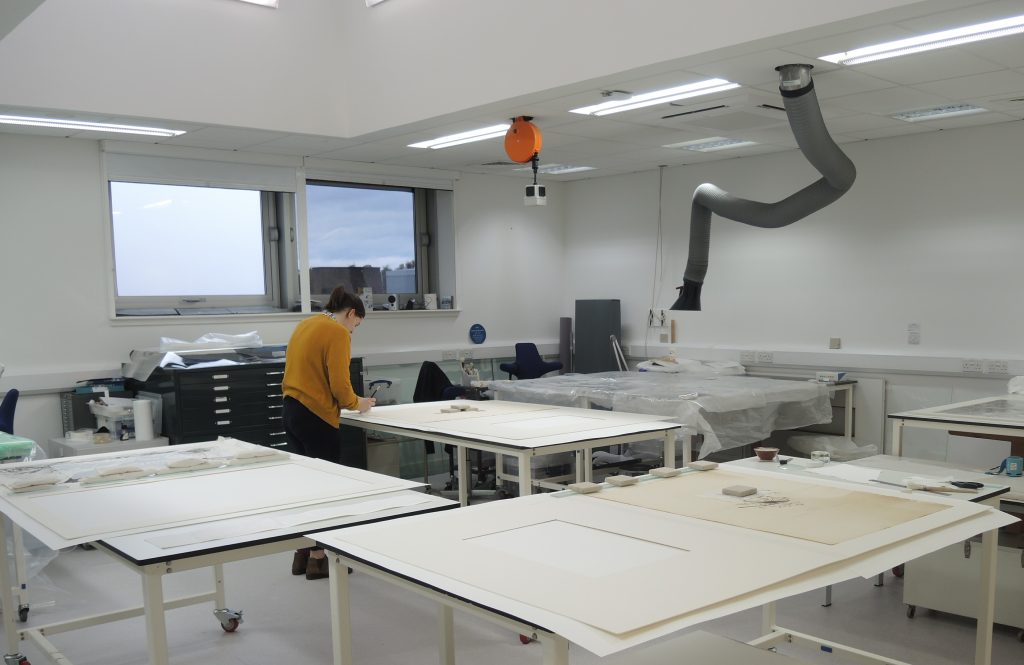
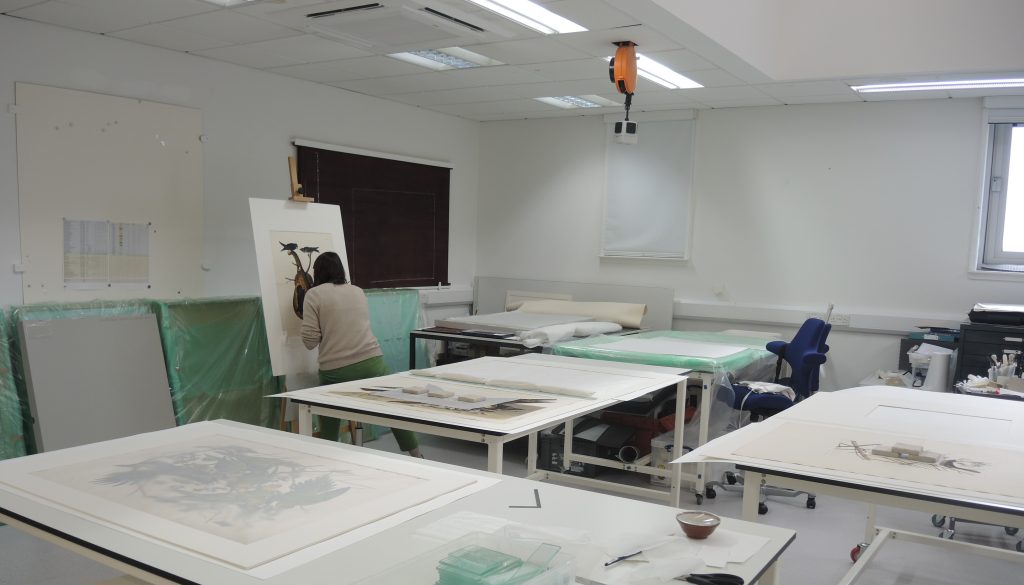
Both the number of prints and their great size made conserving this collection of prints challenging. And, we were on a tight timescale! Let me take you through the process…
The prints were covered in surface dirt. We could clean away the loose dirt with sponges and erasers, but some of it was engrained and couldn’t be removed with ‘dry’ cleaning methods. The prints are hand-coloured with watercolour pigments that are sensitive and water-soluble. Therefore, cleaning the prints with water would have risked washing away the colour pigment too.
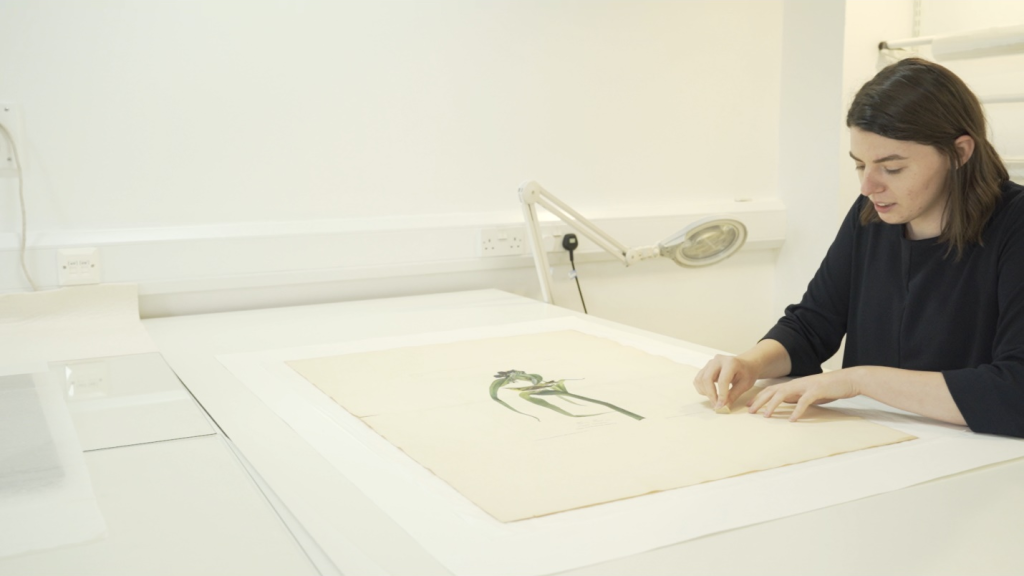
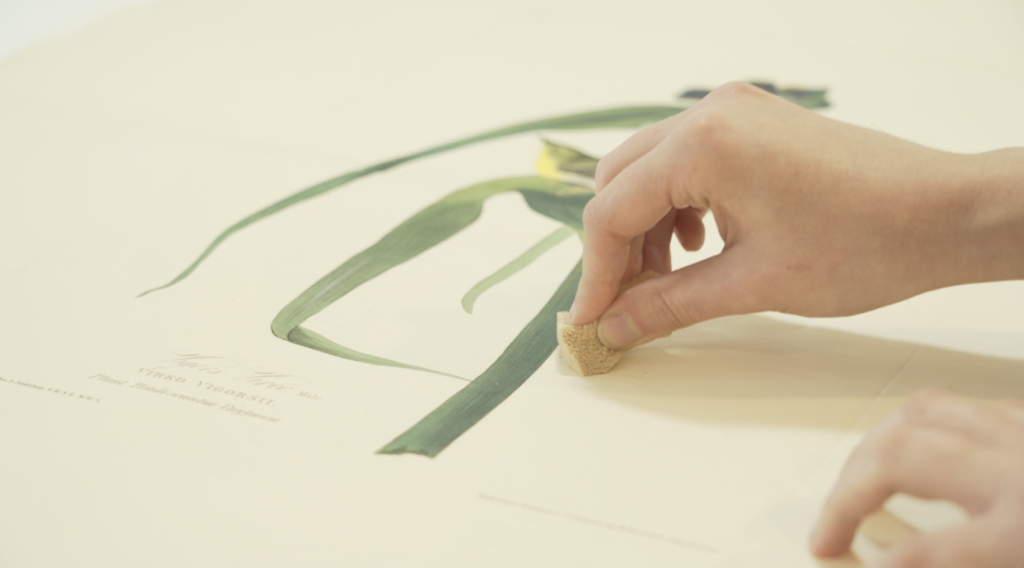
Guard Removal
The use of guards to attach the binding edge of the plates (the central fold) allows the print to move away from the gutter of the binding. This allows the entire folded page to be opened more easily and for the centre of the image to be seen. Unfortunately, the paper and glue used for the guard strips were of poor quality. They have already begun to discolour and over time this will continue to worsen before eventually staining through the paper until it can be seen on the front of the print. It was therefore important for us to remove the guard strip for the long-term preservation of the prints.
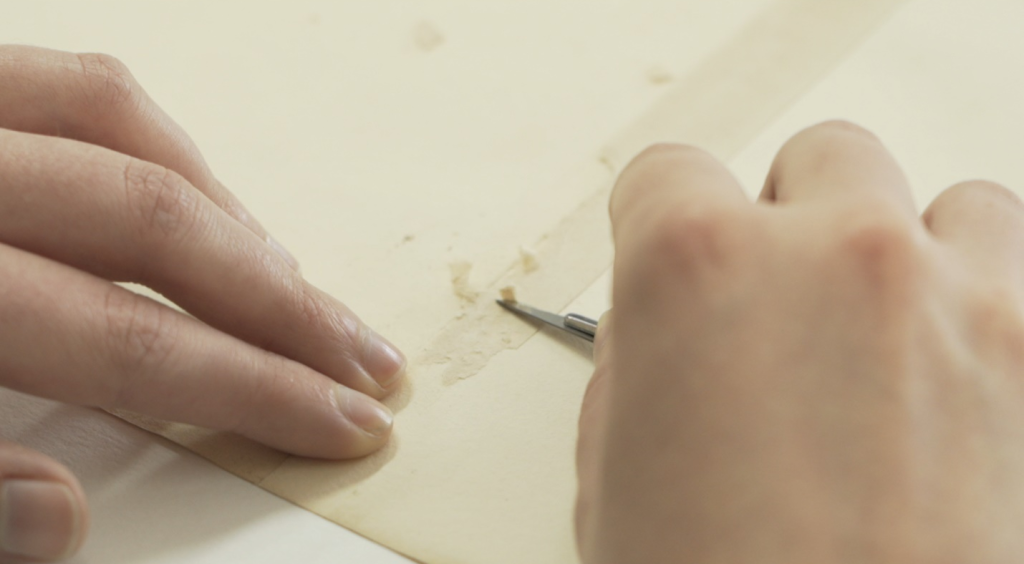
The guard strip was removed in several stages. To begin with, the top layer of the paper strip was removed with a scalpel. The remaining adhesive and small paper fibres were then removed with damp swabs. To prevent this from staining the paper, the area worked on needed to dry quickly. To do this, a layer of blotter was placed on top of the damp area and pressed down with glass weights to help it absorb the moisture.
Flattening and Mounting
The guard strips had caused tensions in the paper and caused some creases. The printing process and folding of the prints also created undulations in the paper. As a result, the prints needed to be flattened to fit their new window mounts and frames without touching the glazing.
We humidified the prints in a chamber with dampened capillary matting and a layer of a fabric-breathable membrane (such as Gore-Tex). This allows water vapour through but repels liquid. As the humidity in the chamber increases, the prints become more relaxed and pliable. They were then pressed flat under weights, with a felt blanket in between, to ensure the plate mark was preserved. This is an integral part to the prints and shows how they were produced.
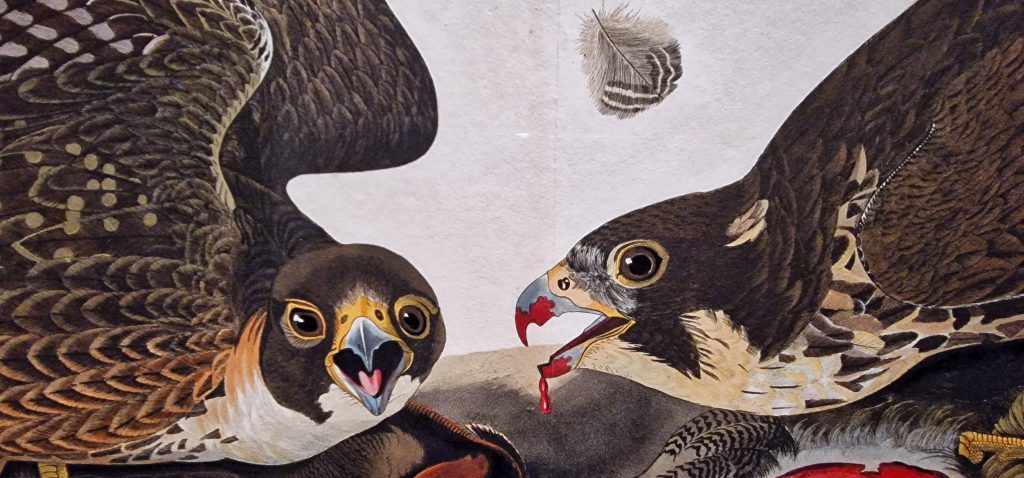
Finally, the prints were hinged into their mounts with a final check that they were looking their best before they went into their frames! Very small areas were retouched along the central fold where it had caused a loss in pigment, leaving behind a white line in the paper. Pastel pencils were used as they can easily be erased.
Installation
With the prints conserved and ready for display, it was time to install them in the gallery for everyone to see!
It has been a brilliant experience working on the Audubon’s Birds of America exhibition. Helping to install the exhibition and see it all come together was wonderful and I hope the museum’s visitors have enjoyed seeing the birds and learning about their stories.
The show is on until Sunday 8 May. After that, we’ll start de-installing the exhibition and getting the space ready for the next one!
