The Learning team at National Museums Scotland has previously offered a guided workshop for primary schools, a guided workshop for secondary schools and a self-led object handling box all focusing on the topic of ‘Animals’. Recent years have seen booking for these resources decline as the Curriculum for Excellence shifts and teachers increasingly have to justify time outwith the classroom and spending money on trips. So how could we go about creating a handling resource to meet school’s new needs?
Step 1 – Identify the need
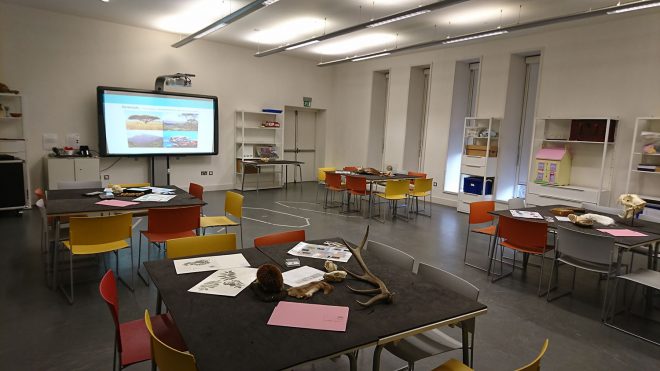
Due to these changes to schools and the Curriculum for Excellence, my colleague Eve and I decided we needed a simpler, easier to use self-led handling resource that classes could come and use here in the Museum. It would also need to leave their teachers safe in the knowledge that key Curriculum for Excellence benchmarks were being achieved.
Step 2 – Make a plan
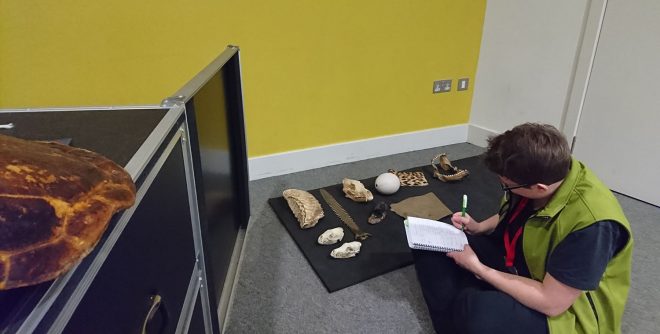
We knew we wanted a new self-led resource. We knew we had lots of really interesting handling specimens. We also knew, however, that these specimens required a large audit due to years of being well used and changing storage locations and filing systems. Eve and I therefore undertook an evaluation of all our animal handling specimens covering three offices, two studio classrooms and four storage locations. Our specimens have been in use for years by various teams and had a selection of notes and locations, with many objects clearly well-loved and ready for retirement.
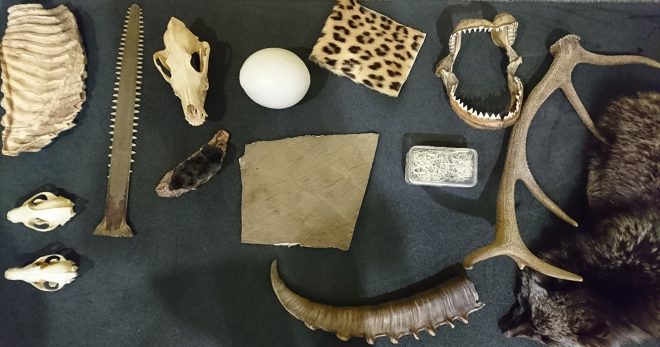
With help from our Natural History department colleagues, we assessed the condition of our specimens. This included checking which chemicals had been used in the preservation process and whether or not these were still suitable to have in the collection. Having undertaken the audit, we divided our collection into three categories – new self-led resource, new families resource and return to the Collections Centre. Once we knew what we had, we began to see which ecosystems of the world were represented by our collection and where there were gaps we needed to fill.
Next it was time to look at the Curriculum for Excellence. The key focuses for school groups of all ages appeared to be the importance of the interconnectivity of nature and how ecosystems support themselves. It therefore made sense for us to divide our collection into some key ecosystems and design activities which would allow teachers to achieve benchmarks in Numeracy, Literacy and even Classical Languages.
Step 3 – Create the resource
Once we knew what we had and what we wanted, it was time to fill in the gaps. Whilst our animal handling specimens collection was very strong, we had no examples of plants, and having decided to represent entire ecosystems, producers were key.
We worked closely with the Royal Botanic Garden Edinburgh, who were able to help source us suitable plant material and even teach us how to properly mount and display them. We also spoke to colleagues at Leeds Museum, who were having a reorganisation of their spaces and were looking for new homes for some specimens. We agreed that we could offer a new home to some fabulous invertebrates, which would fill out the lower sections of our more exotic ecosystem foodwebs. Our colleagues at the National Museum of Scotland Collections Centre were also able to source us some invertebrates that Leeds Museum did not have.
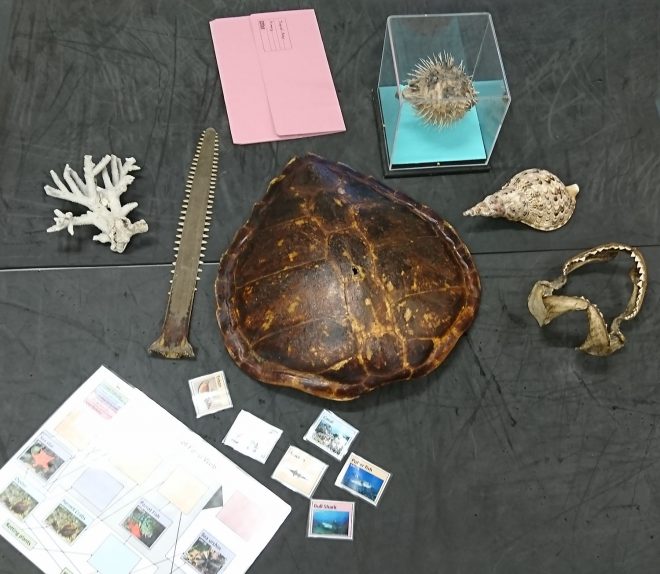
We had our ecosystems. The next step was to create activities that would help to demonstrate key learning points. We created primary school, secondary school and teachers’ notes for each specimen, as well as a variety of questions and activities such as matching games, foodweb puzzles and impacts of environmental change problem-solving. The teachers’ notes allow group leaders to run the activities they feel are most suitable to their class, safe in the knowledge that the answers are at their fingertips.
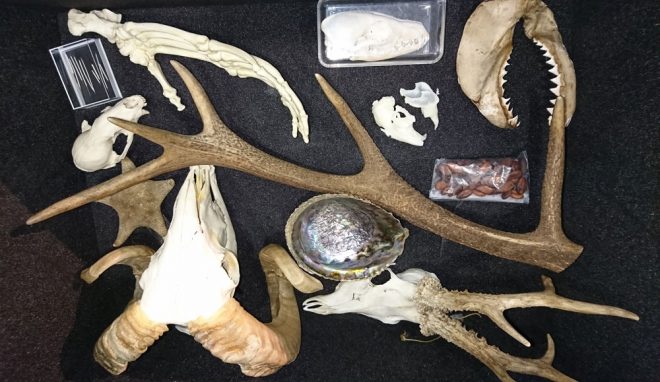
Having audited our entire collection, it also became clear that we had enough specimens to also create a redeveloped handling resource for use out in the Museum’s galleries with our family audience. These specimens were treated, carefully stored and given brand new notes for the Learning team to use.
Step 4 – Protect the resource
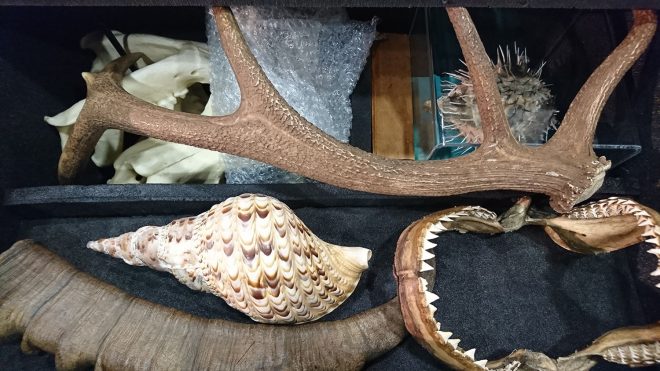
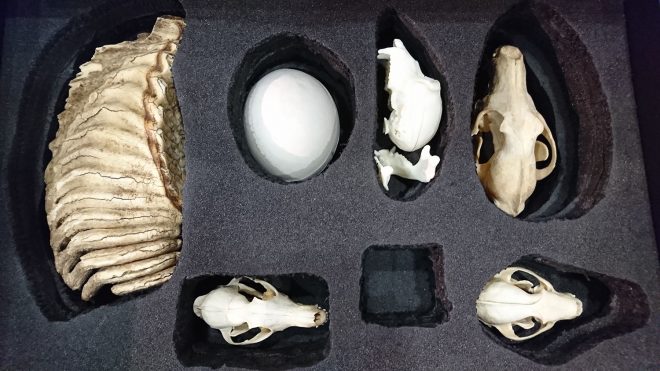
We were keen that both of our new resources would be kept in such a way that they could be well maintained, regardless of how often they were used by both school groups and the public. In order to do this, we spoke to our Collections Care team, who helped us with correct storage of the objects and scheduled regular pest control treatments. We also trained the rest of the Learning team in safe storage and usage of the collection. Eve and I then wrote notes for the teachers on how to safely handle the objects whilst our colleague Marrissa wrote an introduction for our team to give each school group when they arrive.
Step 5 – Use the resource
Animals: Ecosystems, Interdependence and the Environment is now available for school groups to book and we will also be running a CPD session to introduce teachers to the new resource.
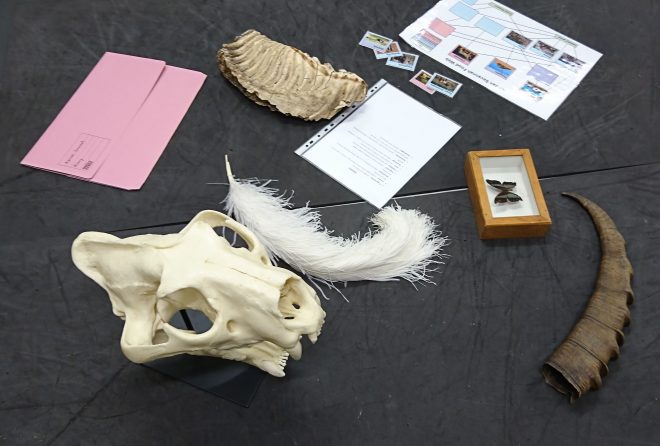
This week saw our first school group use the resource with pupils stating: “it was more fun than I expected”, “I didn’t think we would be allowed to actually touch stuff!” and that they believed it would help them with their topic back at school. The Learning Enabler Team has also increased our usage of animal handling specimens within our family galleries as the new notes and storage system makes this much easier to access. Already we have received feedback such as: “This is wicked!” and “This is amazing! Such a great way to teach kids”.
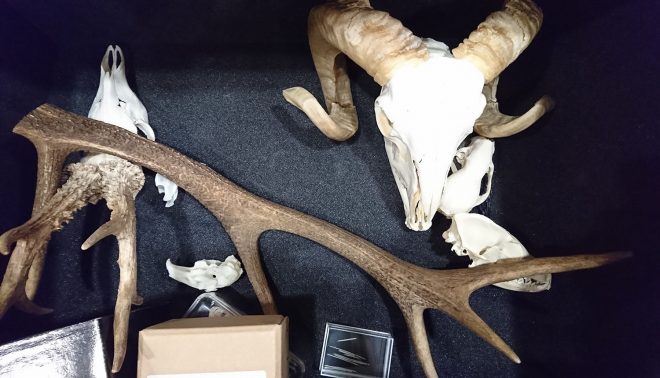
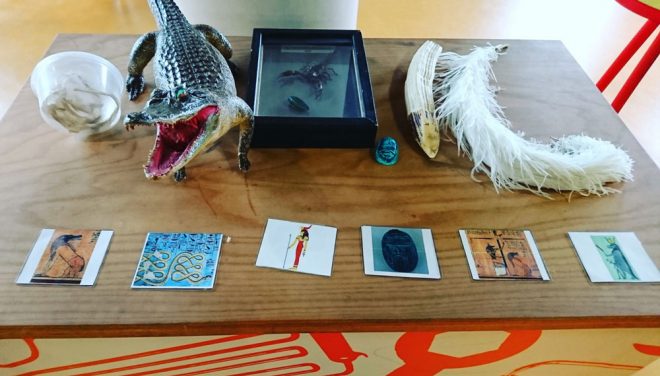
This project has been fascinating, challenging and allowed both our school and family handling programming access to our extensive animal handling collection.
